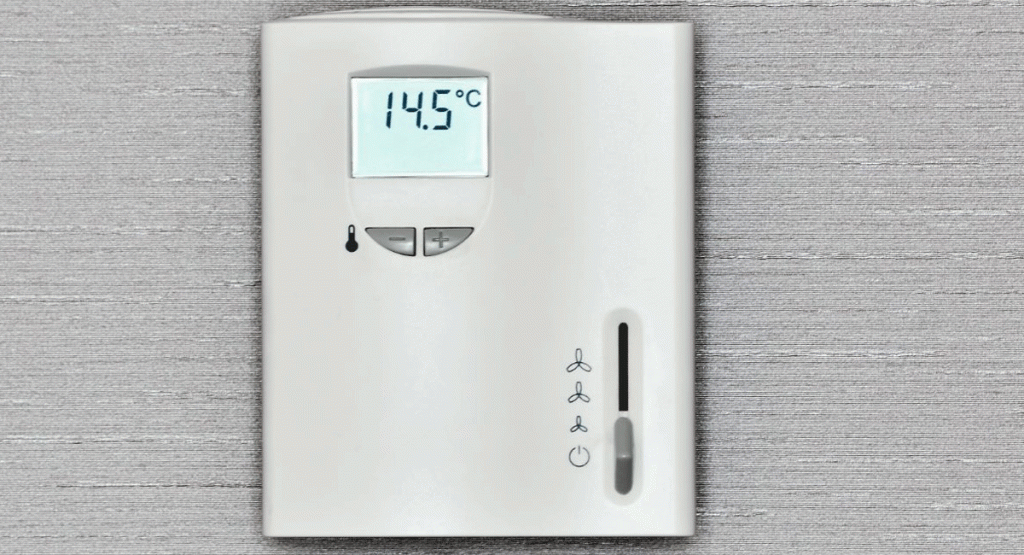
The infinity thermostat is a vital component in the Infinity System, since without it, there would be no temperature control. Other parts of the Infinity System include the variable speed furnace, 2-stage AC, and infinity packaged devices.
The good thing about these systems is that they’re convenient to program and maintain. A smart thermostat is the primary source of infinity control. Through this device, you can save different settings and schedule air temperature settings, manage the humidity levels, and change settings depending on your house’s occupancy and which system you’ve chosen.
This article provides information about what you need to know in order to run your infinity thermostat!
Installing a Carrier Thermostat
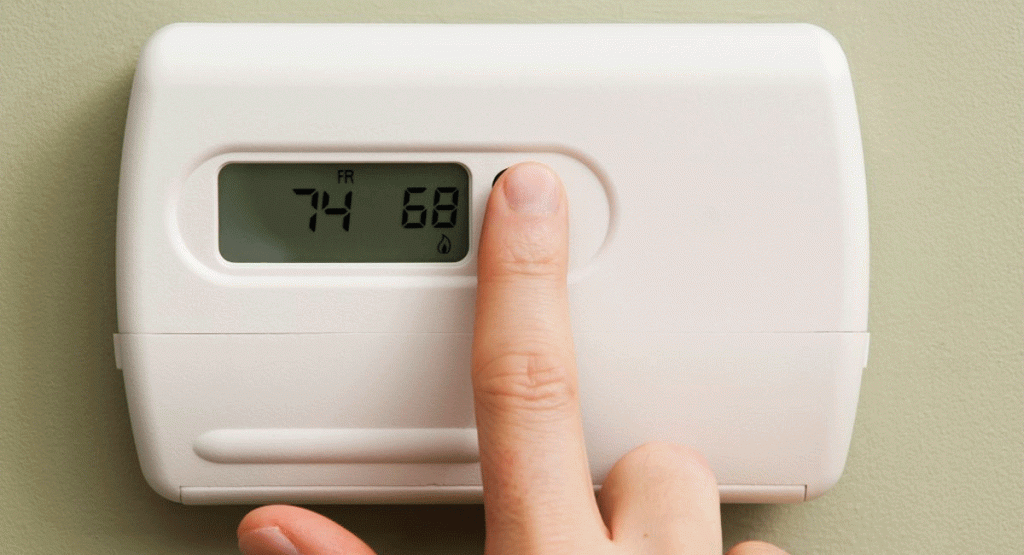
The thermostat is the command center of the entire infinity system and should be placed in a central location and away from obstructions. You should also set it somewhere you can reach easily in case you need to change your preferences.
If your carrier thermostat is Wi-Fi compatible, then you can easily control your HVAC system from your devices!
Mounting a Carrier Thermostat
These thermostats use room sensors, instead of thermistors, to detect internal temperature changes. This way, you can mount the infinity control anywhere you want!
Your carrier thermostat and temperature sensors should be mounted on an interior wall, about 5 feet from the floor. In order to read the correct temperature, place the thermostat in an area that’s frequently occupied. If your HVAC system includes a humidifier, ensure that you’ve installed the infinity control device somewhere that will get you an accurate reading.
Keep Thermostats Away From:
- Drafty places, including air vents, windows, an outside wall, and doors
- Heat sources, including direct sunlight, a lamp, fireplace, furnace, and kitchens
- Supply registers
- Abandoned rooms
- Rooms with poor air circulation
Wiring Options
Your infinity system communicates using an ABCD bus. The ABCD bus consists of four wires connected through an ABCD connector. Each alphabet represents a color which forms a color code to follow so that the infinity control can communicate well with the other components.
- A: Green (Data A)
- B: Yellow (Data B)
- C: White (24VAC- Com)
- D: Red (24VAC- Hot)
Physical Installation Instructions
Thermostat wiring is susceptible to Electromagnetic Interference (EMI). If you’re planning to run its wiring parallel to high-voltage wiring, e.g., from Cable TV or Ethernet wiring, then make sure to use shielded wiring.
Before the installation process, ensure that you’ve switched off the power in your house. It’s always safer to turn off the power from the circuit breaker.
The carrier infinity control comes with a plastic bracket and backplate for assembly. You will need to drill holes for where the wiring should run and mount the thermostat and sensors. This will depend on the thermostat you’re looking to install.
How to Upgrade a Thermostat
- Switch off power supply from the circuit breaker
- Carefully remove the current thermostat if you plan to reuse it
- Find a suitable location
- Prepare the location by drilling two mounting holes and then route the new wiring
- Install the user interface or infinity control in the new site and seal off the older spot
Connecting the Infinity System Components
This system is versatile and can be easily adjusted depending on what you want to use it with. Some systems even consist of non-communicating devices, for instance, hybrid heat installations, which need special considerations.
Powering Up Your Infinity Control After Installation
The manual infinity control consists of vital buttons, such as “System On/Off”, hold, heat, cool buttons, and the fan button.
When you switch on your infinity control, the user interface should detect all the components connected to it.
Once the thermostat has identified all the indoor and outdoor equipment, you must select accessories. If it can’t identify any vital units, the process can’t proceed until it’s fixed. The infinity control should also identify all packaged products.
Selecting Accessories
If your infinity control can’t identify an outdoor unit, then you need to choose between the air conditioner, heat pump, or none, for no unit installed. If available, the thermostat will need specifics about the unit.
You will also need to identify whether a furnace with a variable-capacity heat pump is connected. If so, select the installed indoor evaporator coil. This section helps the thermostat determine how much refrigerant charge is needed.
If you’ve installed a fan coil, heat pump, or packaged AC, you’ll need to manually identify the electric heater and its size. Choosing the correct size will prevent excessive airflow.
Infinity control supports two hydronic heat applications. You can have the hot water coil combined with an FE fan coil and/or heat pump. You can also install a non-zoned FE fan coil with radiant hot water heat. A hydronic heat kit replaces an electric heater, but they shouldn’t be installed simultaneously.
You’ll also need to identify the type of air filter, humidifier, and UV lights you’ve installed. After this process, the user interface will send you an alert to confirm the equipment status from a detailed equipment summary. Save all your settings by pressing “Yes”.
QuickStart Settings
Is this your first time installing infinity control? QuickStart is the fastest way to start, but we recommend going through your owner’s manual if you have any questions.
Comfort Settings
- Open the door and find the BASIC button on the infinity control
- Adjust the current time from the “HOUR” setting, then fill in the “MINUTE” section
- Fill in the current “DAY”
- Go to the “HUMIDITY” option and press the “HEAT” button to adjust the heating humidity level
- Go to the “COOL” button and fill in your cooling humidity levels, depending on your comfort preference
- Save your changes, exit, and close the door
Creating a Customized Program Schedule for the Week
- Open the door to the infinity control
- Locate the “SCHEDULE” button and press it
- Toggle between the left and right buttons to navigate all days and the WAKE time
- Fill in your preferred wake time
- Set the heating temperature using the up and down buttons
- Set the cooling temperature
- Set your sleep time and then follow the prompts to save your changes
Conclusion
If you’re new to installing an Infinity Thermostat, make sure that you always refer to the Infinity Thermostat Manual before making any permanent changes to your wall! Remember that Infinity Thermostats are complex systems with intricate wiring, so handle them with care.