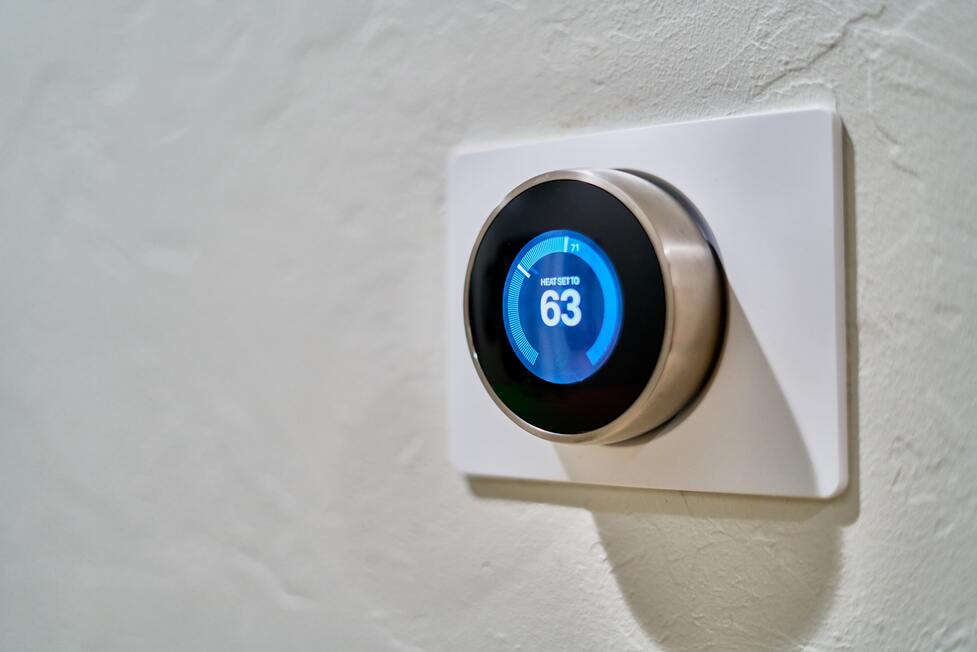
No one loves paying high energy or utility bills that a faulty thermostat can make you do. Besides, it also disrupts the cozy indoor setting of your home. To avoid these, it is better to remove the thermostat.
Wondering how to remove a Honeywell thermostat? Power off the circuit breaker, remove the cover, disconnect the wires, and finally, pull the thermostat off the wall.
This is all you need to do to remove the old thermostat and make way for the new one. Read this article as I discuss these steps in detail below to save a few dollars of yours.
What will you need?
To remove your old Honeywell thermostat, you will need:
- Safety gloves
- A small flat edge screwdriver
- #2 Phillips screwdriver (or a ballpoint pen)
- Painter’s wire
What You Should Know Before Uninstalling Your Honeywell Thermostat?
Replacing your old and inefficient Honeywell thermostat is surprisingly a straightforward process, especially if you’re a DIY person. But before you go ahead and start pulling it off the wall, you should understand the basic wiring of your thermostat.
Here is what the basic wiring of your Honeywell thermostat looks like.
Thermostat Wiring – An Overview
A thermostat has multiple color-coded low-voltage wires powered by the furnace circuit. These low-voltage wires connect to the different components of your house’s HVAC system for efficient heating and cooling.
Here is what each of these color-coded wires connects to in your HVAC system.
- Blue: The blue wire is the common wire.
- Yellow: The yellow wire joins the compressor unit and thermostat.
- White: The thermostat connects to the heating units.
- Orange: The orange wire corresponds to the heat pump, if any.
- Green: The green wire connects the fan and thermostat.
Besides, there are two red low-voltage wires – Red (C) and Red (H). The former wire connects to the cooling system and performs the air conditioner (AC) function. On the other hand, the Red (H) wire performs the heating function and joins the heating system.
As each of these wires is designed to operate a specific component of the HVAC system, you should have the above basic understanding of these wires while installing a new thermostat.
How to Replace a Honeywell Thermostat?
Let’s now go through the step-by-step process to remove a Honeywell thermostat, starting with shutting off the circuit breaker unit.
1. Shut off the circuit breaker and mind the mercury glass vial inside
Shutting off the circuit breaker for your HVAC system is necessary to avoid shocks while dealing with the wires under the faceplate.
Next, carefully handle the mercury glass vial present inside. Don’t break it or throw it in the trash as this can potentially contaminate the environment. For the mercury vial’s safe disposal, visit any nearby waste management authority or hand it over to any recycling company.
2. Remove the Honeywell Thermostat Cover
Remove the Honeywell thermostat cover to access its wiring and bracket. Different thermostats have a different mechanism at work to take off the cover. While a gentle pull gets the cover off the thermostat in the traditional models, some thermostats feature a latch or easy-push button for the same.
Whatever may be the case, make sure not to harm the wall during the process. Otherwise, the new thermostat won’t sit suitably on the wall.
Tip: If the wires are not yet visible after removing the cover, remove the plate using the screwdriver, if any.
3. Mark the Thermostat Wires
Before you disconnect the wiring of your old Honeywell thermostat (discussed next), click a photo of the wiring system. This will function as an easy guide for reconnecting the wires during your new thermostat’s installation.
Alternatively, take small pieces of the painter’s tape (masking tape), paste them on the terminals of each wire, and label the corresponding part to where it connects.
4. Remove the Wires and Bracket
Once the cover is off and wires marked, remove the wires to pull apart the thermostat from the wall mount. In most Honeywell thermostat models, a small screw holds the wires in place. In that case, use either a flat edge screwdriver or #2 Phillips screwdriver to release the wires.
If your Honeywell thermostat features an easy single-push release button in place of a screw, engage the button with any regular pen or screwdriver. In either case, don’t harm the wires or their labels.
Now, remove the bracket or wall plate by unfastening the screws holding it in place.
Tip: If your new thermostat happens to be of a new shape or dimensions, repair the wall, if any.
Conclusion
Removing your broken Honeywell thermostat is crucial to prevent high energy or utility bills. Interestingly, the process for the same is self-manageable as well. All you need to do is switch off the circuit breaker, take off the thermostat cover, disconnect the wires, and finally, gently pull the thermostat off the wall.
This blog discussed the above steps in detail and presented every information you would need for a smooth Honeywell thermostat’s removal.
Frequently Asked Questions (FAQs)
1. How do I remove the cover of my Honeywell thermostat?
Ans: You can remove your thermostat cover either by gently pulling it off the thermostat or pressing the single-push button if you have got a smart thermostat.
2. Can I change my thermostat myself?
Ans: Yes, you can easily change your thermostat by yourself and without any professional assistance. Just follow the above steps and it is done.
3. Are Honeywell thermostats interchangeable?
Ans: The T series thermostats from Honeywell are interchangeable. That is, you can replace your old T series thermostat with a new model by merely swapping the cover plate.
